
Use your own domain with Hatch
Serve your Hatch Connect frontend on your own domain instead of workers.dev: the extra Cloudflare token permissions, setup steps and how to check it.
Last updated October 29, 2026
By the end of this guide your Hatch frontend will be served from your own domain instead of a free workers.dev address, and you will know which Cloudflare permissions that needs.
workers.dev or your own domain
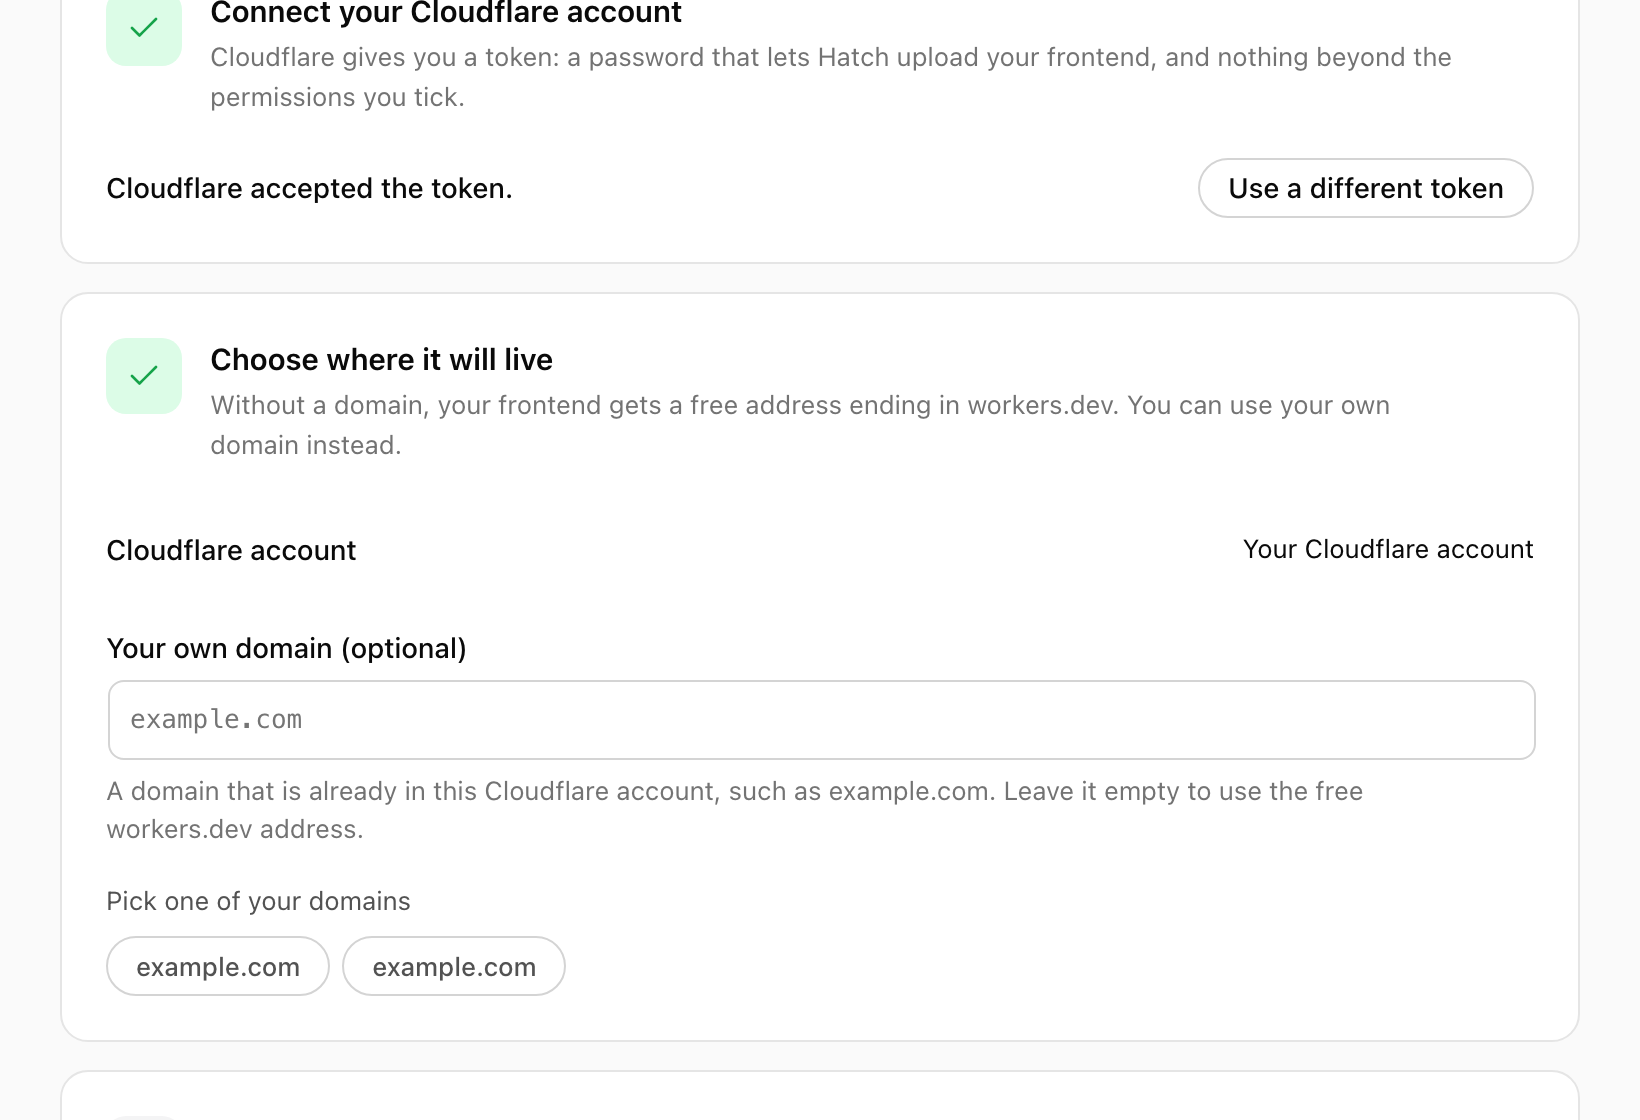
Hatch serves your frontend with a Cloudflare Worker, a small program that runs on Cloudflare’s network in your own Cloudflare account. Every Worker gets a free address ending in workers.dev. You can use one of your own domains instead. In the setup guide you choose between the two on the address step.
Before you start
- The domain must be a zone in the same Cloudflare account you deploy to.
- Your API token needs two extra permissions on top of Account, Workers Scripts, Edit: Zone, Zone, Read and Zone, Workers Routes, Edit. These are only needed for a custom domain.
- Limit the token to one account and, for a custom domain, one zone.
If your token does not have these yet, edit it in Cloudflare or create a new one; see Create a Cloudflare API token for Hatch.
Deploy to your own domain
- In wp-admin, open Hatch and start the setup guide.
- Paste your token and choose Check token.
- On the address step, choose one of your own domains from the domain picker instead of workers.dev.
- Read the list of changes. Nothing on your site or in your Cloudflare account changes until you press Deploy.
- Tick the box that confirms the changes and press Deploy.
When you choose your own domain, Hatch also sends your zone and route settings to Cloudflare, alongside the frontend files and Worker secrets it sends for any deploy. Cloudflare is only contacted while you run Check token, Deploy or Redeploy, or use the account and domain pickers.
What changes on your WordPress site
After you save your frontend address, your site sends requests only to that address: a periodic HEAD request to check it is up, a cache-refresh request when content changes, and a test request when you press the test button.
Visitors who open the raw WordPress address are sent on to the same path on your frontend, and “View post”, “View page” and archive links in wp-admin point at the frontend. wp-admin, wp-login, REST, AJAX, XML-RPC, feeds, sitemaps and previews are never redirected, so WordPress stays your back office.

Check the domain
- Open your domain in a private window and load a few posts.
- Open the Status tab in Hatch and confirm the frontend is reported as up.
- Edit a post and confirm the change appears on the domain after the cache refresh.
Undo
You can undo the deployment later with the Disconnect button.