
Create the Cloudflare API token Hatch needs
Step-by-step: create a custom Cloudflare API token with the Workers Scripts Edit permission so Hatch Connect can deploy your WordPress frontend.
Last updated November 4, 2026
Hatch needs a Cloudflare token to upload your frontend. A token is a long password that you create in your own Cloudflare account, and it can only do what you tick. By the end of this page you will have one ready to paste.
Permissions to add
| Permission | Needed? | What it is for |
|---|---|---|
| Account, Workers Scripts, Edit | Required | Uploads the frontend Worker and its static files. |
| Account, Account Settings, Read | Optional (recommended) | Lets Hatch find your Cloudflare account automatically. |
| Zone, Zone, Read | Custom domain only | Finds your domain in the account. |
| Zone, Workers Routes, Edit | Custom domain only | Routes your domain to the Worker. |
If you only want a free workers.dev address, the first two rows are enough. The setup guide has a Copy the list button for these.
Create the token
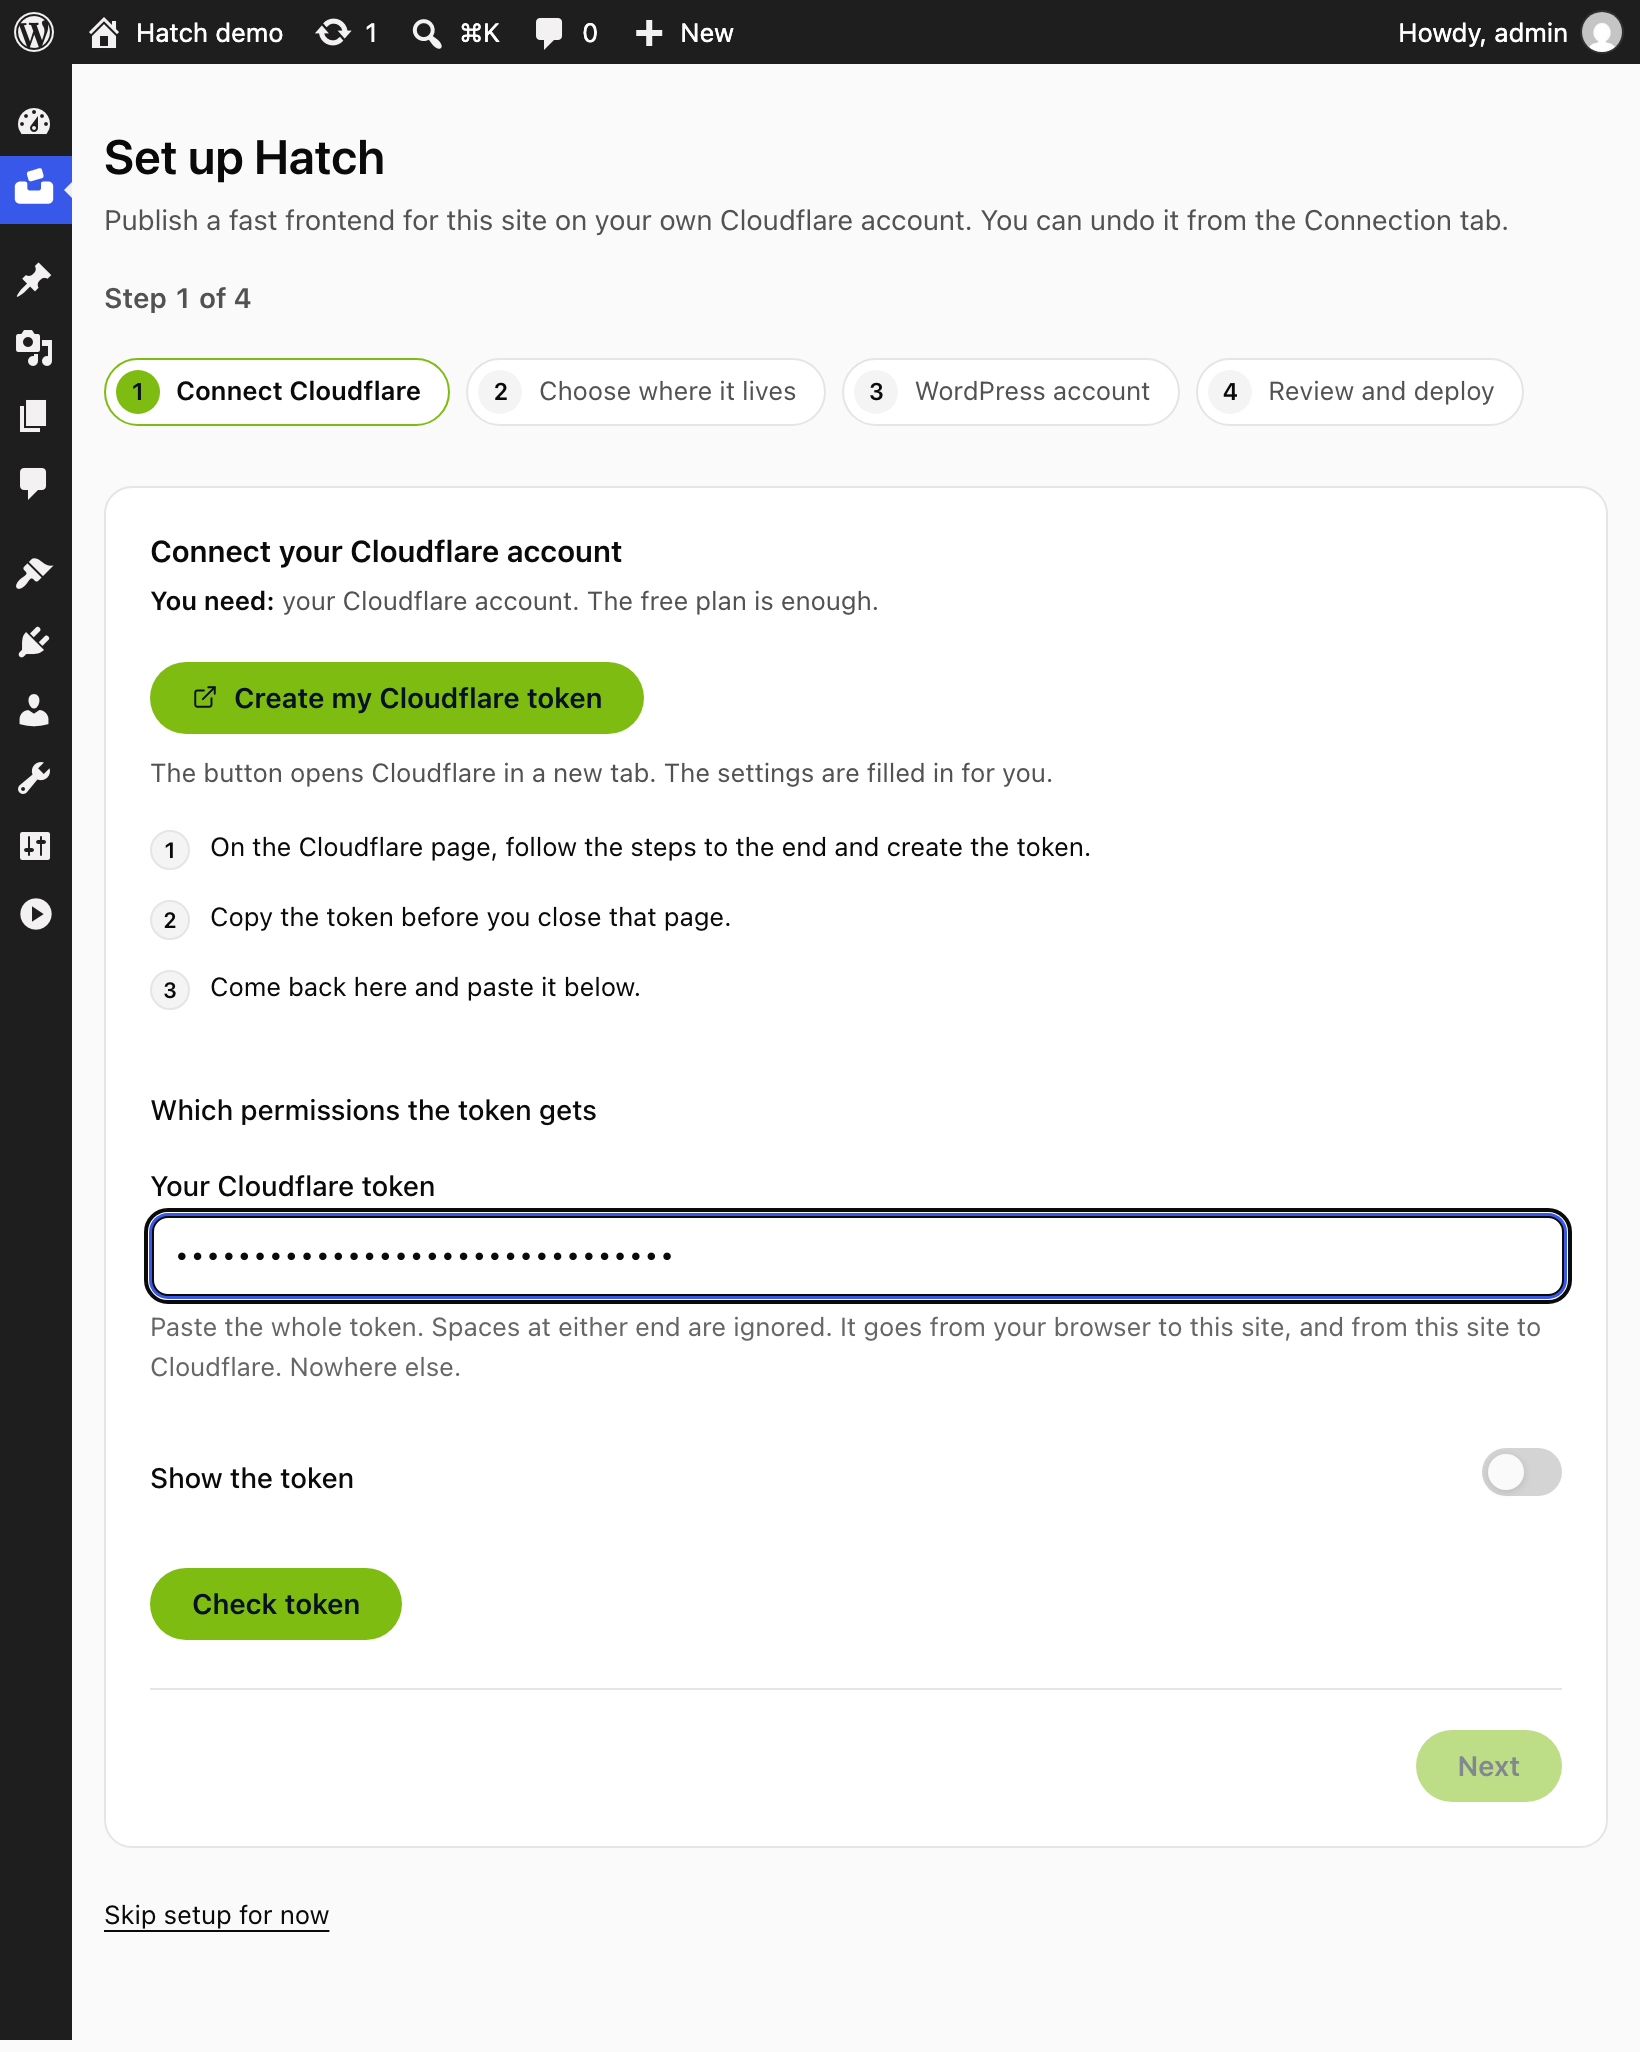
The easiest way: in the Hatch setup guide, choose Create my Cloudflare token. It opens Cloudflare in a new tab with the settings filled in for you. Follow the steps on the Cloudflare page to the end, create the token and copy it before you close that page. Then come back to the guide and paste it. To create the token by hand instead, follow these steps.
- Open Cloudflare, My Profile, API Tokens and sign in if asked.
- Choose Create Token, then Create Custom Token.
- Name it, for example
Hatch, and add the permissions from the table. - Under Account Resources, include the account you want to deploy to.
- Optional: set an expiry date. A short-lived token is a good habit; remember you will need a new one to redeploy after it expires.
- Choose Continue to summary, then Create Token.
- Copy the token before you leave the page. Cloudflare shows it once.
Paste it and check it
Paste the whole token into the Hatch setup guide. Spaces at either end are ignored. Choose Check token. When Cloudflare accepts it, the guide moves on to choosing an address.
The token goes from your browser to your site, and from your site to Cloudflare. Nowhere else. Hatch stores it encrypted and never shows it again.
What to do next
Deploy your WordPress site to Cloudflare Workers. If the check fails, see The deploy fails with a Cloudflare API error.